How to Make Sourdough Bread Without Yeast: A Homemade Masterpiece
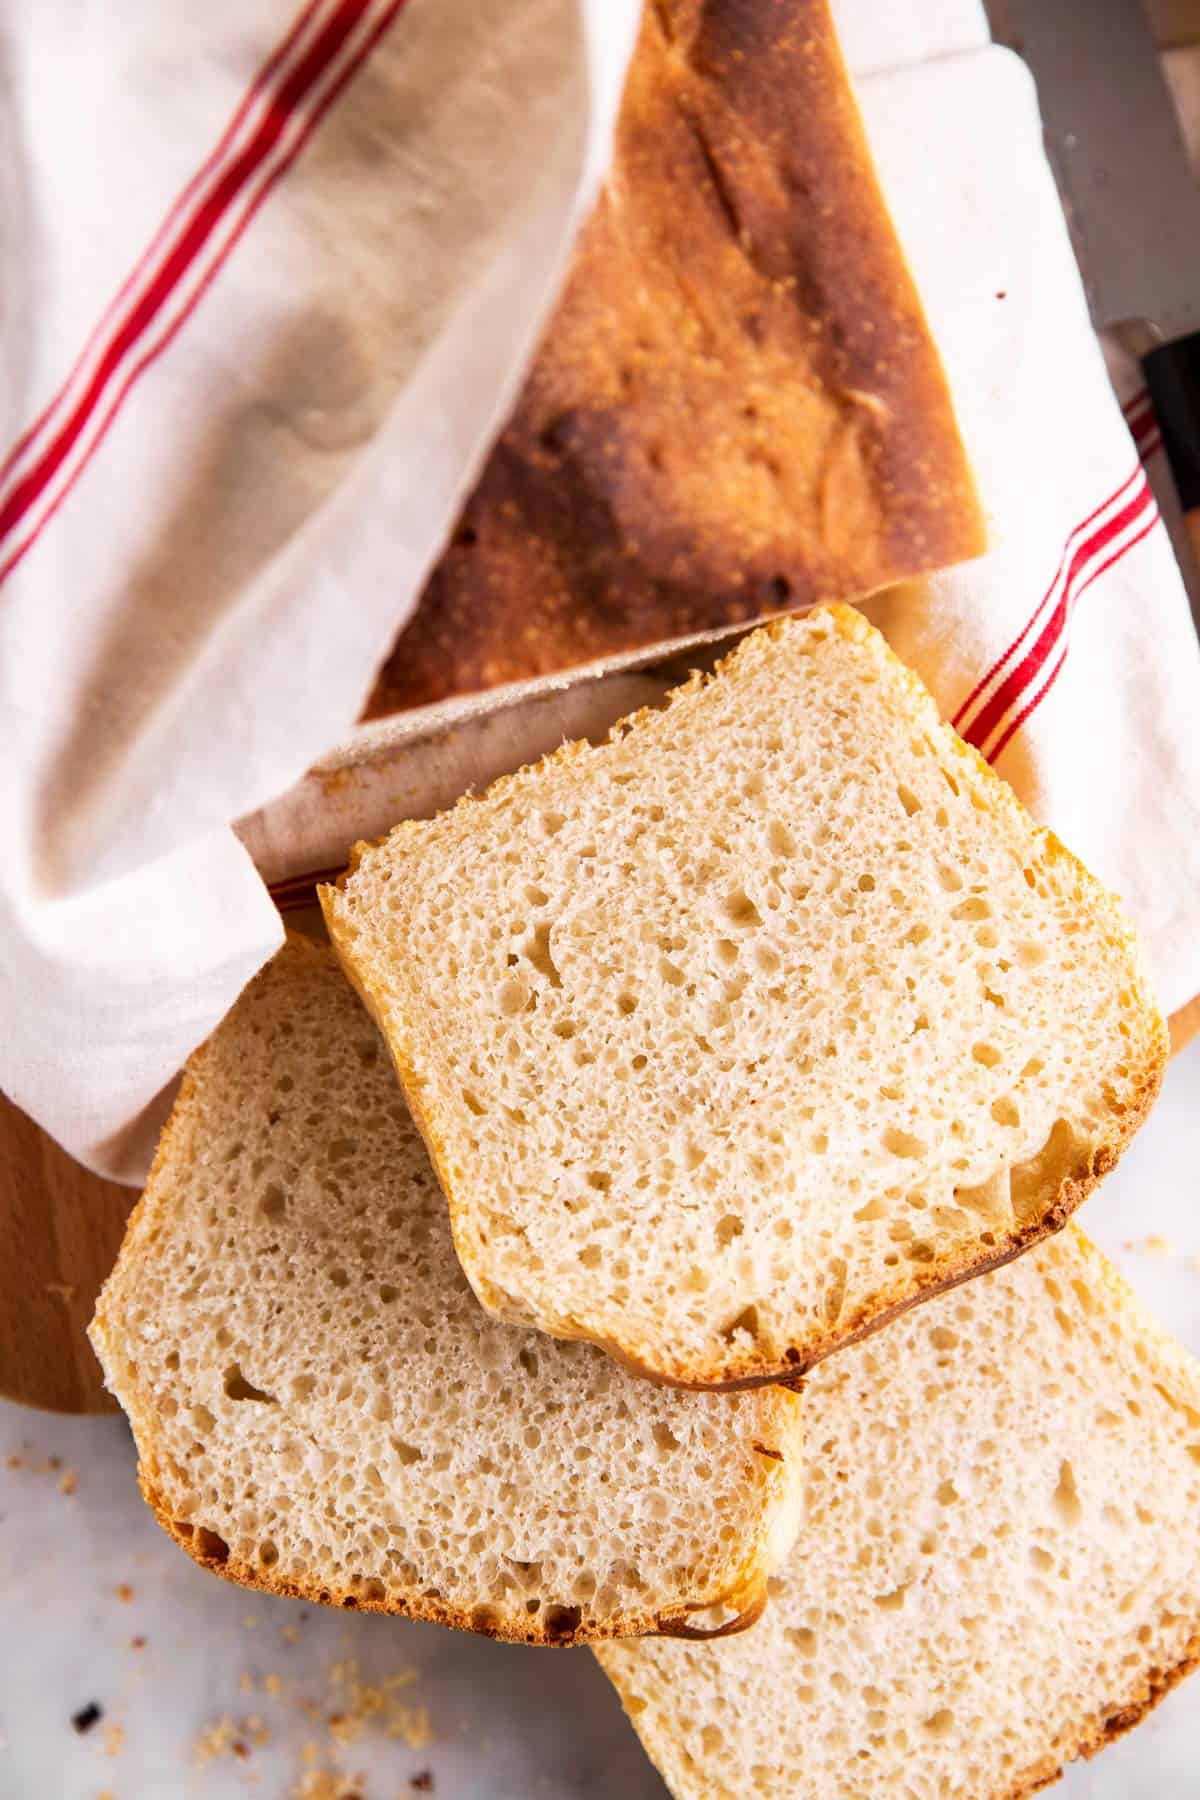
Imagine the aroma of freshly baked bread wafting through your home, the crust crackling as you slice into it, revealing a soft, airy interior. This isn't just any bread; it's sourdough, a labor of love that requires patience, skill, and the magic of fermentation. But what if I told you that you don't need commercial yeast to achieve this artisan delight? That's right, you can create a homemade sourdough bread recipe without yeast, relying solely on the power of a sourdough starter. Let's embark on this culinary adventure together.
The Magic of Sourdough Starter
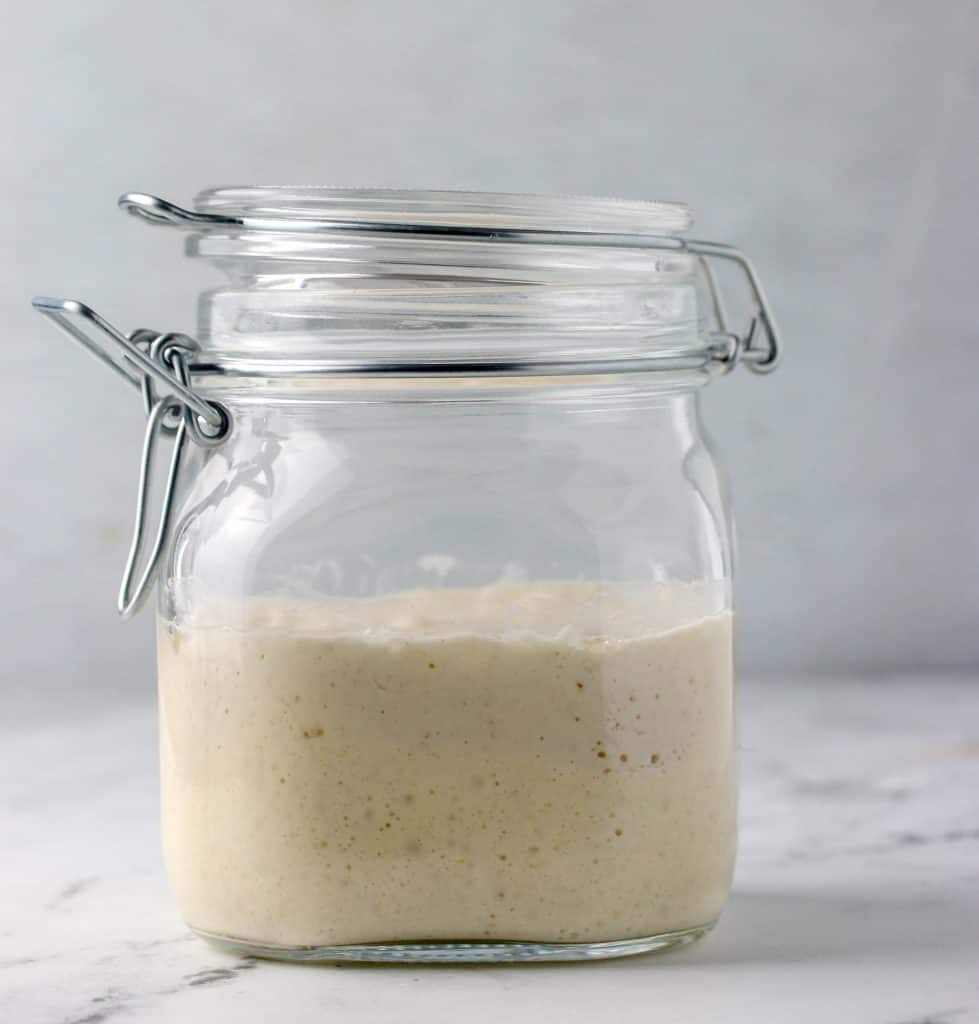
At the heart of every sourdough loaf lies the sourdough starter, a living, breathing mixture of flour and water that captures wild yeast and bacteria from the environment. This fermentation process gives sourdough its distinctive tangy flavor and chewy texture. Creating your own starter is surprisingly simple, requiring just flour, water, and time.
Ingredients for Sourdough Starter
- 1 cup (120g) whole grain flour (rye or wheat)
- 1/2 cup (120ml) filtered water
Instructions
- Day 1: Combine the flour and water in a non-reactive container, stirring until no dry flour remains. Cover the container with a breathable cloth and let it rest in a warm place (around 70-75°F or 21-24°C) for 24 hours.
- Day 2-7: Each day, discard half of the starter and feed it with equal parts flour and water. By day 7, your starter should be bubbly and ready to use.
The Art of Making Sourdough Bread
Now that your starter is alive and kicking, it's time to dive into the art of making sourdough bread. This process involves several stages, each crucial to the final product.
Ingredients for Sourdough Bread
- 500g strong white bread flour
- 350ml water
- 100g active sourdough starter
- 10g salt
Instructions
1. Autolyse
Combine the flour and water in a bowl, mixing until there are no dry bits of flour left. Cover the bowl and let it rest for 30 minutes to 1 hour. This process, known as autolyse, helps to improve the gluten structure and flavor.
2. Add the Starter and Salt
After autolyse, add the active sourdough starter and salt to the bowl. Mix well to combine. The dough will be sticky at this stage, but don't be tempted to add more flour.
3. Stretch and Fold
Instead of kneading, sourdough relies on a series of stretch and folds to develop the gluten. With wet hands, gently pull and stretch the dough from the sides and fold it into the middle. Do this on all four sides, working your way around the bowl. Let the dough rest for 30 minutes, then repeat the stretch and fold process. Perform this process 3-4 times over 2 hours.
4. Shape the Dough
Turn the dough out onto a lightly floured surface. Gently shape it into a boule (round shape) or batard (oval shape). Place the shaped dough into a well-floured banneton (proofing basket) or a bowl lined with a floured cloth.
5. Cold Fermentation
Cover the dough and place it in the refrigerator to cold ferment overnight (at least 8 hours). This slow fermentation process enhances the flavor and makes the dough easier to handle.
6. Bake
Preheat your oven and a Dutch oven or heavy pot to 500°F (260°C). Carefully turn the dough out onto a piece of parchment paper and make a few slashes on the surface with a lame or sharp knife. This helps the bread to expand evenly in the oven.
Place the dough (along with the parchment) into the preheated Dutch oven, cover it, and bake for 20 minutes. Then, reduce the oven temperature to 450°F (230°C), remove the lid, and bake for another 20-25 minutes, or until the crust is golden brown.
Baking Tips for the Perfect Loaf
Mastering the art of sourdough bread takes practice, but here are some tips to help you along the way:
- Patience is key: Sourdough is a slow process. Don't rush the fermentation or proofing stages.
- Consistency matters: Use a kitchen scale to measure your ingredients for consistent results.
- Temperature control: Maintain a warm environment for your starter and dough to encourage fermentation.
- Hydration levels: The ratio of water to flour (hydration) affects the crumb structure. Experiment with different hydration levels to find your preference.
The Science Behind Fermentation
Fermentation is the magical process that transforms simple ingredients into complex flavors. During fermentation, wild yeast and bacteria in the starter consume sugars in the flour, producing carbon dioxide (which makes the bread rise) and lactic acid (which gives sourdough its tangy flavor). This natural leavening process not only enhances the taste but also makes the bread more digestible and nutritious.

Conclusion: Embrace the Art of Sourdough
Creating a homemade sourdough bread recipe without yeast is a rewarding journey that connects you with the ancient art of breadmaking. From nurturing your sourdough starter to shaping and baking your loaf, each step is a labor of love. Embrace the process, experiment with different techniques, and savor the unique flavors that only sourdough can offer.
FAQs
How long does it take to make sourdough bread? The entire process, from creating the starter to baking the bread, can take up to a week. However, once your starter is established, you can make a loaf of sourdough bread in about 24 hours.
Can I use all-purpose flour for sourdough bread? While all-purpose flour can be used, strong white bread flour is preferred for its higher protein content, which helps develop a stronger gluten structure.
Why is my sourdough bread dense? Dense sourdough bread can be caused by several factors, including underproofing, overproofing, or not enough gluten development during the stretch and fold process.
How do I know if my sourdough starter is ready to use? Your starter is ready to use when it is bubbly, has doubled in size, and passes the float test (a small amount of starter floats in water).
Can I freeze sourdough bread? Yes, sourdough bread can be frozen for up to 3 months. Slice the bread before freezing for easy portioning.
Happy baking, and may your sourdough adventures be filled with delicious discoveries!

0 Response to "How to Make Sourdough Bread Without Yeast: A Homemade Masterpiece"
Post a Comment