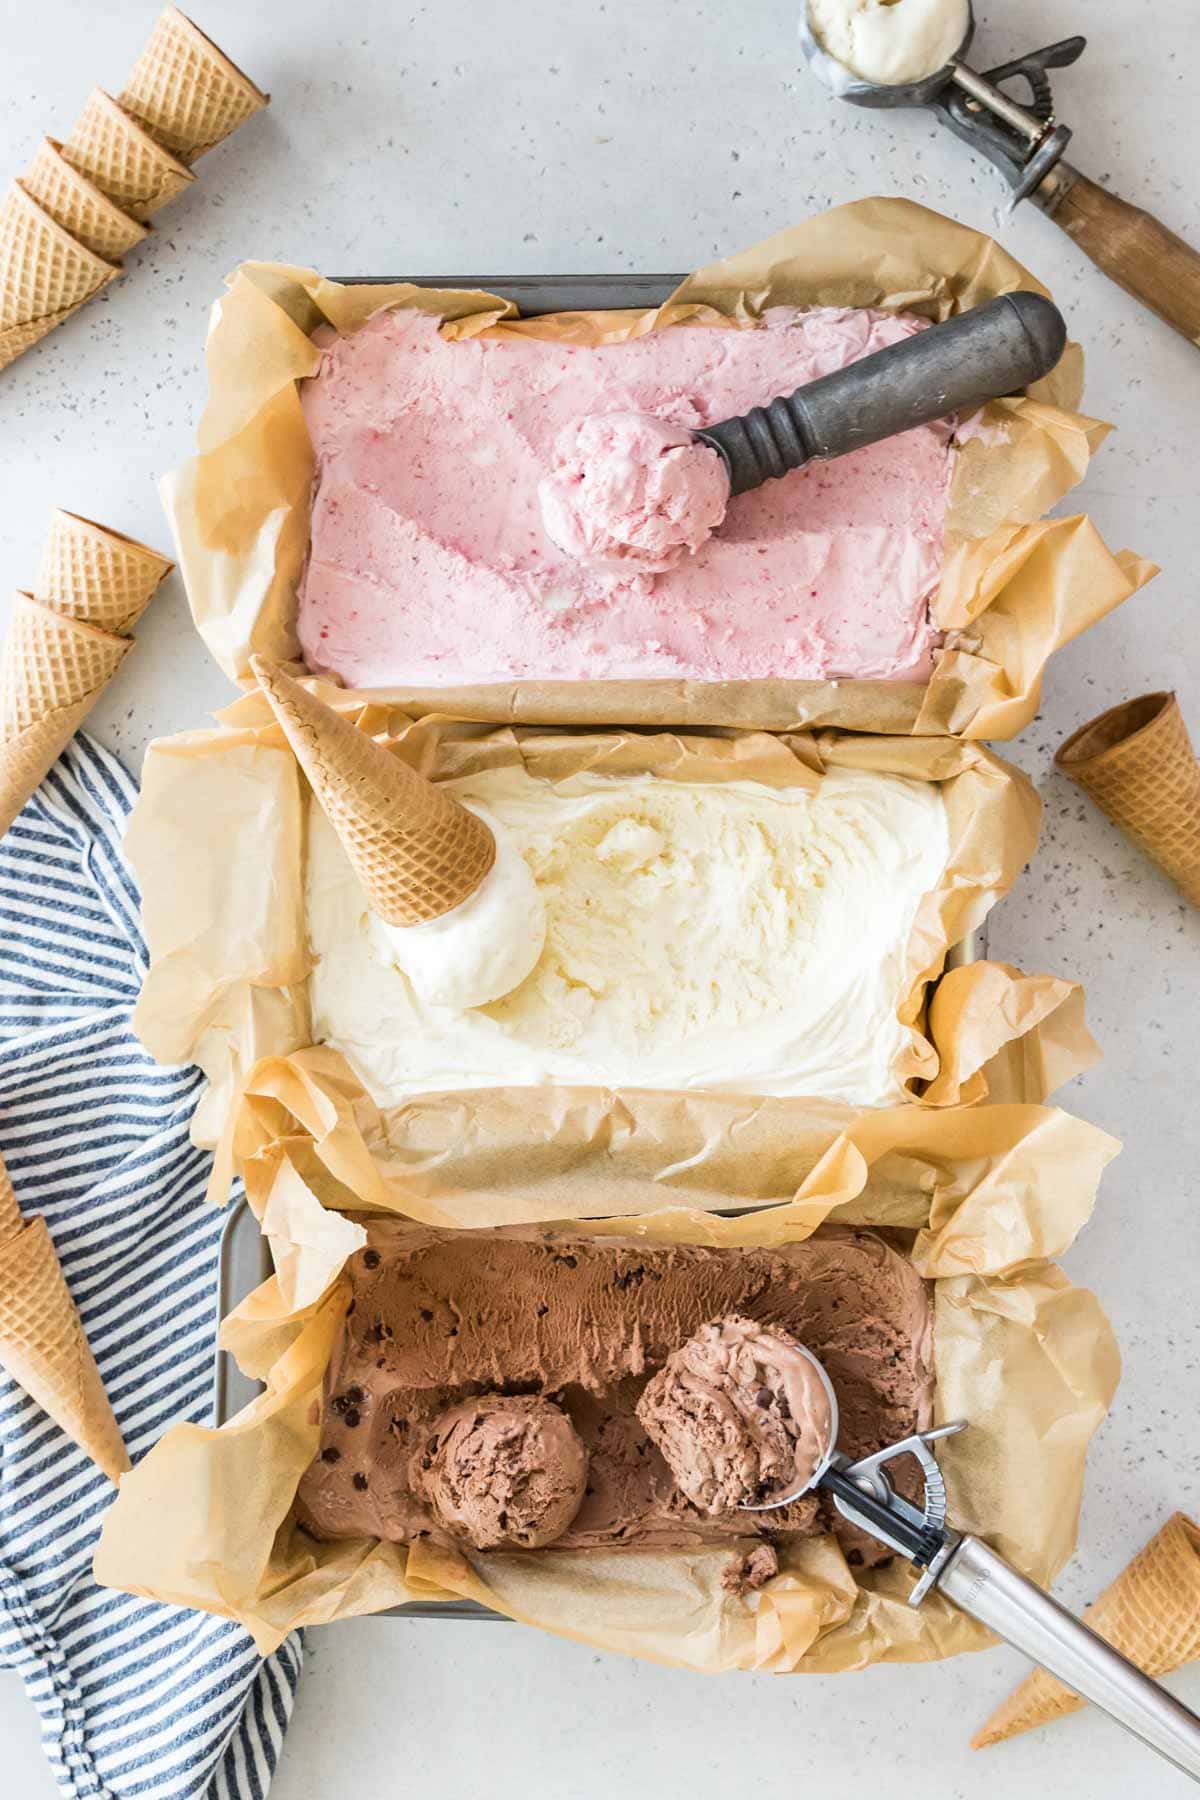
How to Make Homemade Ice Cream Without a Machine: A No-Churn Delight

Imagine this: a hot summer day, the sun is blazing, and you're craving a scoop of creamy, cold ice cream. But there's a catch—you don't have an ice cream maker. Don't let that dampen your spirits! Today, we're going to explore the delightful world of no-churn ice cream. With just a few simple ingredients and a bit of elbow grease, you can whip up a homemade dessert that rivals any store-bought treat. So, are you ready to become an ice cream artisan right in your own kitchen? Let's dive in!
The Magic of No-Churn Ice Cream
No-churn ice cream is like a magical trick—it transforms simple ingredients into a velvety, frozen delight without the need for any fancy equipment. The secret lies in the combination of heavy cream and condensed milk, which create a rich and creamy base that freezes beautifully.
Why No-Churn?
- Ease of Preparation: No-churn ice cream is incredibly simple to make. With just a few basic ingredients and a whisk, you're well on your way to a delicious homemade dessert.
- Versatility: From classic vanilla to exotic flavors like matcha or lavender, the possibilities are endless. You can customize your ice cream to suit your taste buds.
- Cost-Effective: No need to invest in an expensive ice cream maker. With no-churn ice cream, you can enjoy a premium dessert without breaking the bank.
The Basic No-Churn Ice Cream Recipe
Let's start with the foundation—a basic no-churn ice cream recipe that you can build upon. This recipe is foolproof and yields a creamy, indulgent dessert every time.
Ingredients
- 2 cups heavy cream
- 1 can (14 oz) sweetened condensed milk
- 1 teaspoon vanilla extract
- A pinch of salt
Instructions
Whip the Cream: In a large bowl, whip the heavy cream until stiff peaks form. This step is crucial as it incorporates air into the cream, giving your ice cream a light and fluffy texture.
Combine the Ingredients: In a separate bowl, mix the sweetened condensed milk, vanilla extract, and a pinch of salt. Gently fold this mixture into the whipped cream until well combined. Be careful not to deflate the cream.
Freeze: Pour the mixture into a loaf pan or any freezer-safe container. Cover with plastic wrap and freeze for at least 6 hours, or until firm.
Serve: Once frozen, scoop out your homemade ice cream and enjoy!

Customizing Your No-Churn Ice Cream
Now that you have the basic recipe down, it's time to get creative. Customizing your no-churn ice cream is where the real fun begins. Here are some ideas to inspire your culinary adventures:
Flavor Variations
- Chocolate: Add 1/2 cup of unsweetened cocoa powder to the condensed milk mixture for a rich chocolate flavor.
- Strawberry: Blend 1 cup of fresh strawberries and add the puree to the condensed milk mixture.
- Mint Chocolate Chip: Add 1 teaspoon of peppermint extract to the condensed milk mixture and fold in 1/2 cup of mini chocolate chips.
Mix-Ins and Toppings
- Fruit: Swirl in your favorite fruit jam or compote for a burst of freshness.
- Nuts: Add chopped nuts like almonds, pecans, or walnuts for a crunchy texture.
- Cookies and Candy: Crumble cookies or chop up your favorite candy bars and fold them into the ice cream mixture.
Tips for the Perfect No-Churn Ice Cream
While no-churn ice cream is incredibly simple, there are a few tips to ensure your dessert turns out perfectly every time.
Use High-Quality Ingredients
The quality of your ingredients can make or break your ice cream. Opt for high-quality heavy cream and sweetened condensed milk for the best results.
Chill Your Ingredients
Cold ingredients whip up faster and incorporate more air, resulting in a lighter and fluffier ice cream. Make sure your heavy cream is well-chilled before whipping.
Be Gentle
When folding the condensed milk mixture into the whipped cream, be gentle to avoid deflating the cream. This step ensures your ice cream remains light and airy.

Conclusion
Making homemade ice cream without a machine is not only possible but also incredibly rewarding. With just a few simple ingredients and a bit of creativity, you can create a no-churn ice cream that rivals any store-bought treat. So, why wait? Grab your whisk and get started on your culinary adventure. Your taste buds will thank you!
FAQs
Can I use low-fat milk instead of heavy cream?
- While you can use low-fat milk, it won't whip up as well as heavy cream. The resulting ice cream may be less creamy and more icy.
How long does no-churn ice cream last in the freezer?
- No-churn ice cream can last up to a month in the freezer. Just make sure to store it in an airtight container to prevent freezer burn.
Can I make no-churn ice cream without condensed milk?
- Yes, you can use alternatives like evaporated milk or a homemade condensed milk substitute. However, the texture and sweetness may vary.
How do I prevent ice crystals from forming?
- To prevent ice crystals, make sure your ingredients are well-chilled and whip the cream thoroughly. Also, avoid opening the freezer door frequently while the ice cream is freezing.
Can I make no-churn ice cream vegan?
- Yes, you can use coconut cream and a vegan condensed milk substitute to make a delicious vegan no-churn ice cream.
0 Response to "How to Make Homemade Ice Cream Without a Machine: A No-Churn Delight"
Post a Comment