How to Make Homemade Bread Without a Bread Machine

Introduction
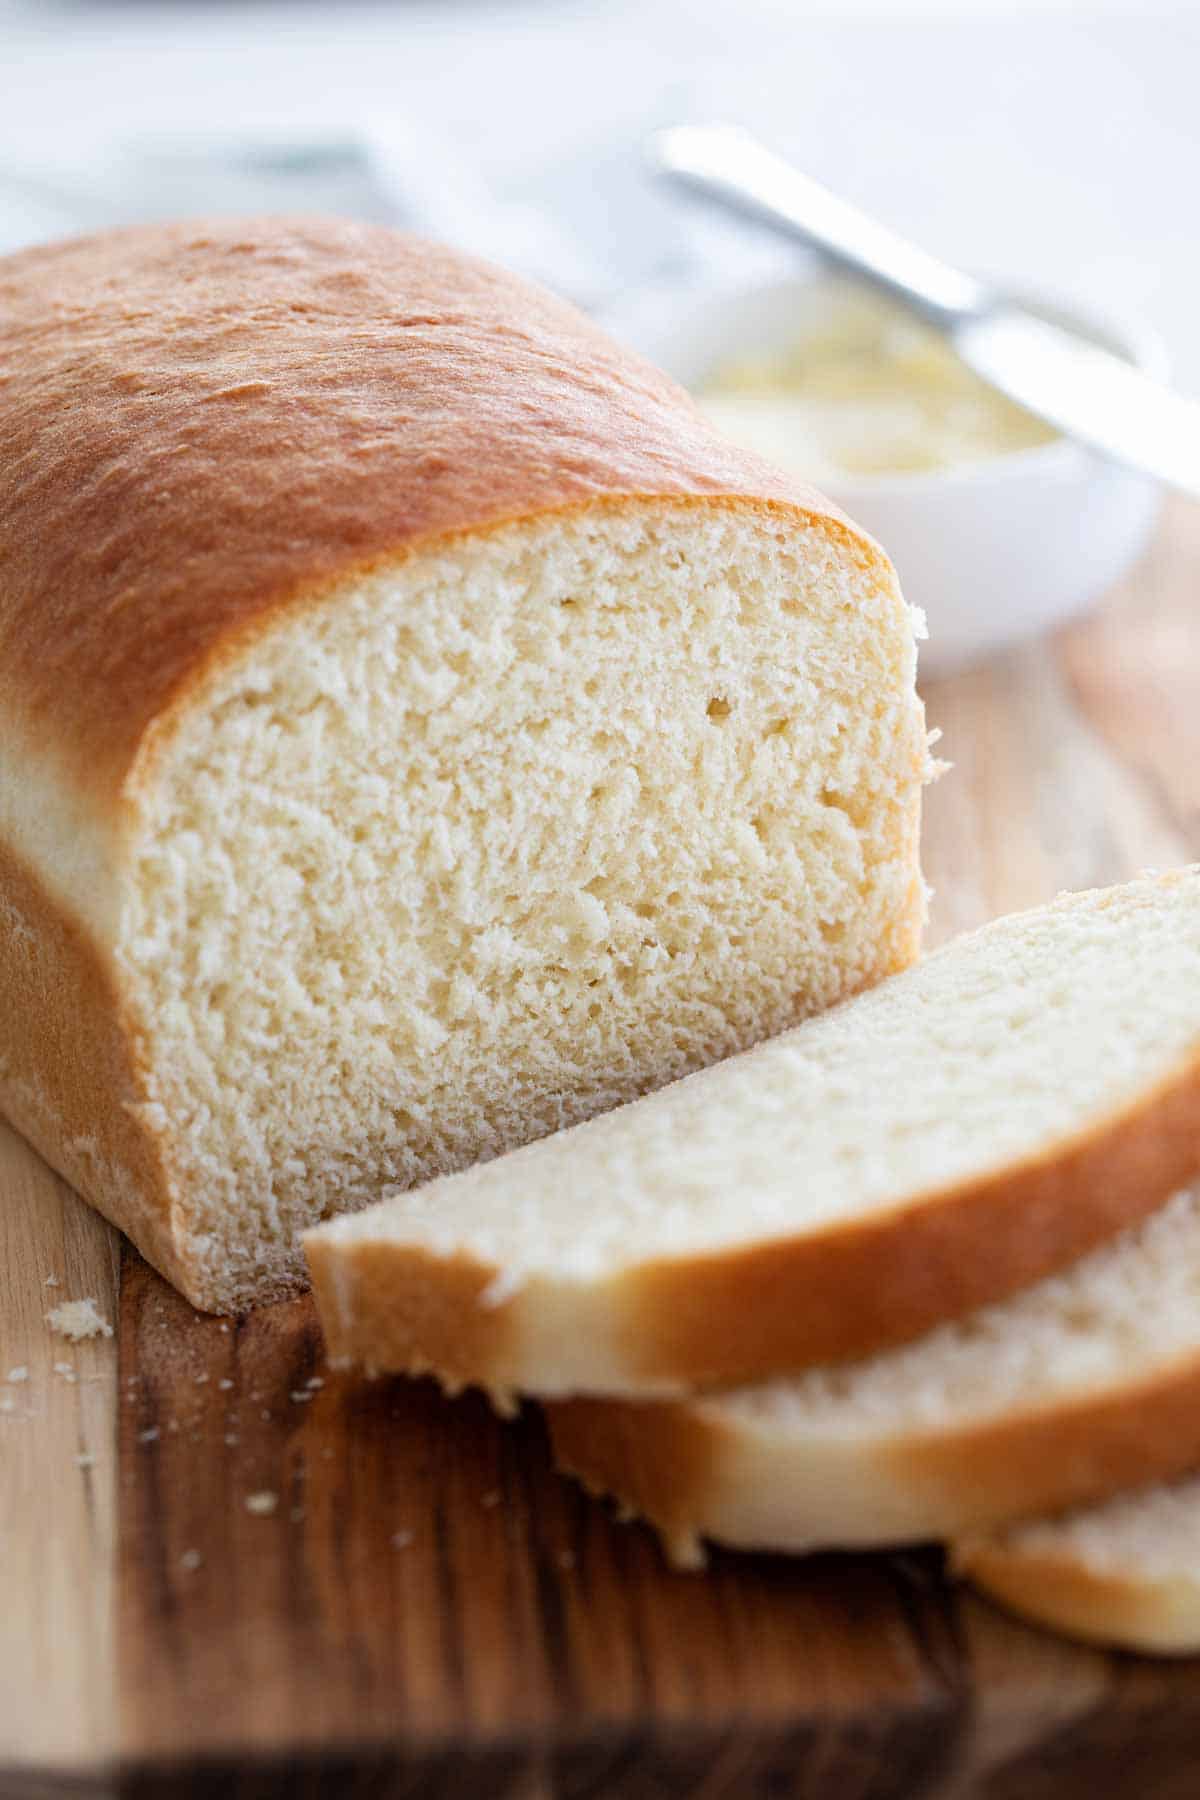
Imagine the aroma of freshly baked bread wafting through your kitchen. The golden crust, the soft, fluffy interior—it's a sensory experience that's hard to beat. But what if you don't have a bread machine? No problem! Making homemade bread without a bread machine is not only possible but also incredibly rewarding. In this guide, we'll walk you through the process step-by-step, ensuring you have all the tips and tricks to create the perfect loaf. So, let's dive in and discover the joy of no bread machine baking!
Why Make Homemade Bread?
Making your own bread is more than just a culinary adventure; it's a journey back to the basics. Homemade bread is healthier, tastier, and more satisfying than store-bought options. Plus, it's a fantastic way to impress your family and friends with your baking skills.
Benefits of Homemade Bread
- Healthier Ingredients: You control what goes into your bread, avoiding preservatives and additives.
- Cost-Effective: Baking your own bread can save you money in the long run.
- Personal Satisfaction: There's nothing quite like the sense of accomplishment that comes from creating something delicious from scratch.
Essential Ingredients and Tools
Before we get started, let's gather the essential ingredients and tools you'll need.
Ingredients
- Flour: All-purpose or bread flour works best.
- Yeast: Active dry yeast or instant yeast.
- Sugar: A small amount to activate the yeast.
- Salt: To enhance the flavor.
- Water: Lukewarm water to activate the yeast.
- Optional Add-Ins: Seeds, herbs, or spices to customize your bread.
Tools
- Mixing Bowl: For combining ingredients.
- Measuring Cups and Spoons: For precise measurements.
- Baking Sheet or Loaf Pan: To bake your bread.
- Oven: Preheated to the right temperature.
Step-by-Step Guide to Making Homemade Bread
Step 1: Activate the Yeast
Begin by activating your yeast. In a small bowl, combine lukewarm water, a pinch of sugar, and your yeast. Let it sit for about 5-10 minutes until it becomes frothy. This step is crucial as it ensures your yeast is alive and ready to work its magic.
Step 2: Mix the Dough
In a large mixing bowl, combine your flour and salt. Make a well in the center and pour in your activated yeast mixture. Stir until a shaggy dough forms. You can use a wooden spoon or your hands for this step.
Step 3: Knead the Dough
Turn your dough out onto a lightly floured surface and begin kneading. This process helps develop the gluten, giving your bread its structure. Knead for about 10 minutes until the dough becomes smooth and elastic.
Step 4: First Rise
Place your dough in a greased bowl, cover it with a clean kitchen towel, and let it rise in a warm, draft-free place for about 1-2 hours, or until it doubles in size. This is the first rise, and it's where the yeast does most of its work.
Step 5: Shape the Dough
Once your dough has risen, punch it down to release the air. Shape it into a loaf or any other form you prefer. You can place it in a greased loaf pan or directly on a baking sheet.
Step 6: Second Rise
Cover your shaped dough and let it rise again for about 45 minutes to an hour. This second rise gives your bread its final volume and structure.
Step 7: Bake the Bread
Preheat your oven to 375°F (190°C). Just before baking, you can brush the top of your bread with a bit of water or an egg wash for a shiny crust. Bake for about 30-40 minutes, or until the bread is golden brown and sounds hollow when tapped.
Step 8: Cool and Enjoy
Remove your bread from the oven and let it cool on a wire rack. This step is important as it allows the bread to finish cooking and set properly. Once cooled, slice and enjoy your fresh homemade bread!
Bread Baking Tips
Tip 1: Use the Right Flour
Different types of flour yield different results. Bread flour has a higher protein content, which helps develop more gluten, resulting in a chewier bread. All-purpose flour works well too, but the texture may be slightly different.
Tip 2: Proper Yeast Activation
Ensure your water is lukewarm, not hot, to avoid killing the yeast. A pinch of sugar helps activate the yeast, making it frothy and ready to use.
Tip 3: Knead with Patience
Kneading is key to developing gluten. Don't rush this step. The dough should become smooth and elastic, which indicates it's ready for the first rise.
Tip 4: Create a Warm Environment
Yeast thrives in warm environments. Place your dough in a warm, draft-free area for optimal rising. You can even place it near a heater or in a slightly warm oven.
Tip 5: Experiment with Add-Ins
Feel free to customize your bread with seeds, herbs, or spices. This can add flavor and texture, making your bread unique and delicious.
Conclusion
Making homemade bread without a bread machine is a rewarding experience that combines art and science. With the right ingredients, tools, and techniques, you can create a loaf that's not only delicious but also a source of pride. So, why not give it a try? Your kitchen will be filled with the irresistible aroma of freshly baked bread, and your taste buds will thank you. Happy baking!
FAQs
Can I use whole wheat flour instead of all-purpose flour? Yes, you can use whole wheat flour, but keep in mind that it may require more liquid and kneading time due to its higher fiber content.
What if my dough doesn't rise? If your dough doesn't rise, it could be due to inactive yeast, incorrect water temperature, or a cold environment. Ensure your yeast is fresh and your water is lukewarm.
How do I store homemade bread? Store your bread at room temperature in an airtight container or wrapped in plastic. It will keep for about 3-4 days. You can also freeze it for longer storage.
Can I make bread without yeast? Yes, you can make bread without yeast using baking powder or baking soda. These are known as quick breads and have a different texture and rise.
What is the best way to slice homemade bread? Use a serrated knife and slice the bread gently, using a sawing motion. This helps maintain the bread's structure and prevents it from crumbling.


0 Response to "How to Make Homemade Bread Without a Bread Machine"
Post a Comment