How to Make Easy Homemade Jam for Canning: A Comprehensive Guide

Are you tired of store-bought jams that lack the fresh, vibrant flavors of homemade fruit preserves? Imagine spreading a spoonful of your own homemade jam on a slice of warm, toasted bread. The aroma, the taste, the satisfaction—it's an experience that can't be matched. Making easy homemade jam for canning is simpler than you might think. With a few basic ingredients and some canning tips, you can create delicious, preservative-free jams that will impress your family and friends. Let's dive into the world of DIY jam and discover how you can turn your kitchen into a jam-making haven.
Why Make Homemade Jam?
Making homemade jam is not just about the taste; it's about the experience. It's a chance to connect with nature, to appreciate the fruits of your labor, and to create something truly unique. Plus, homemade jam makes for a thoughtful and personal gift. Whether you're a seasoned canner or a beginner, the process of making jam is both rewarding and enjoyable.
Essential Ingredients and Equipment
Before you start, you'll need a few essential ingredients and tools. Here's a list to get you started:
- Fresh Fruit: The star of your jam. Choose ripe, seasonal fruits for the best flavor.
- Sugar: A key ingredient that helps with preservation and thickening.
- Pectin: A natural thickener found in fruits, often added to ensure the jam sets properly.
- Lemon Juice: Adds acidity and helps with preservation.
- Canning Jars: Sterilized jars with lids and bands.
- Large Pot: For cooking the jam.
- Canning Pot: For processing the jars.
- Jar Lifter: To safely handle hot jars.
- Funnel: To fill the jars without making a mess.
Step-by-Step Guide to Making Easy Homemade Jam
1. Prepare Your Fruit
The first step in making homemade jam is to prepare your fruit. Wash, peel, and chop your fruit as needed. For berries, you can simply rinse them and remove any stems. For fruits like apples or peaches, you may need to peel and core them.
2. Cook the Fruit
Place your prepared fruit in a large pot and add a small amount of water to prevent burning. Cook the fruit over medium heat until it softens and breaks down. You can use a potato masher to help speed up the process.
3. Add Sugar and Pectin
Once the fruit is soft, add sugar and pectin according to your recipe. Stir well to combine. The sugar will help the jam thicken and preserve it, while the pectin ensures a good set.
4. Boil the Mixture
Bring the mixture to a full rolling boil, stirring constantly to prevent burning. Boil for the time specified in your recipe, usually around 1-2 minutes. This step is crucial for activating the pectin and achieving the right consistency.
5. Test for Gel
To test if your jam has reached the gel stage, place a small amount on a cold plate and let it cool. If it wrinkles when you push it with your finger, it's ready. If not, continue boiling for a few more minutes and test again.
6. Fill the Jars
Using a funnel, carefully fill your sterilized jars with the hot jam, leaving about 1/4 inch of headspace at the top. Wipe the rims clean with a damp cloth to ensure a good seal.
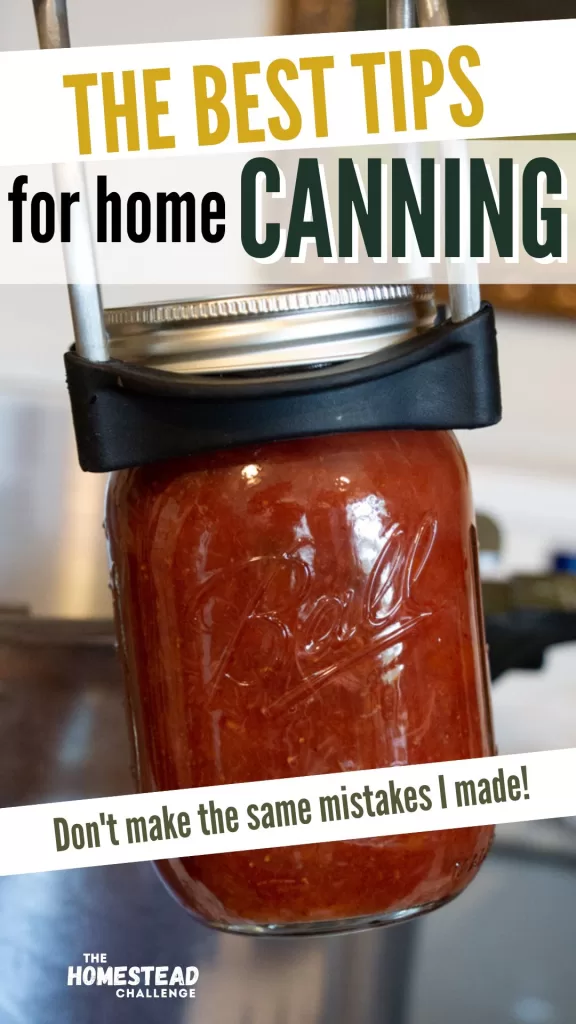
7. Process the Jars
Place the filled jars in a canning pot filled with boiling water. Make sure the jars are completely submerged. Process the jars for the time specified in your recipe, usually around 10-15 minutes. This step kills any bacteria and ensures the jam is safe for long-term storage.
8. Cool and Store
Remove the jars from the canning pot and let them cool on a towel. You should hear the lids pop as they seal. Once cooled, check the seals by pressing the center of the lids. If they don't flex, the jars are sealed properly. Store your jam in a cool, dark place for up to a year.
Canning Tips for Success
Canning can be intimidating, but with a few tips, you'll be a pro in no time.
- Sterilize Your Jars: Always start with clean, sterilized jars to prevent contamination.
- Use the Right Equipment: Invest in a canning pot, jar lifter, and funnel to make the process easier and safer.
- Follow Recipes Closely: Jam recipes are carefully balanced to ensure proper preservation. Don't be tempted to alter the sugar or pectin amounts.
- Process Properly: Make sure your jars are fully submerged in boiling water and process them for the recommended time.
Easy Homemade Jam Recipes for Canning
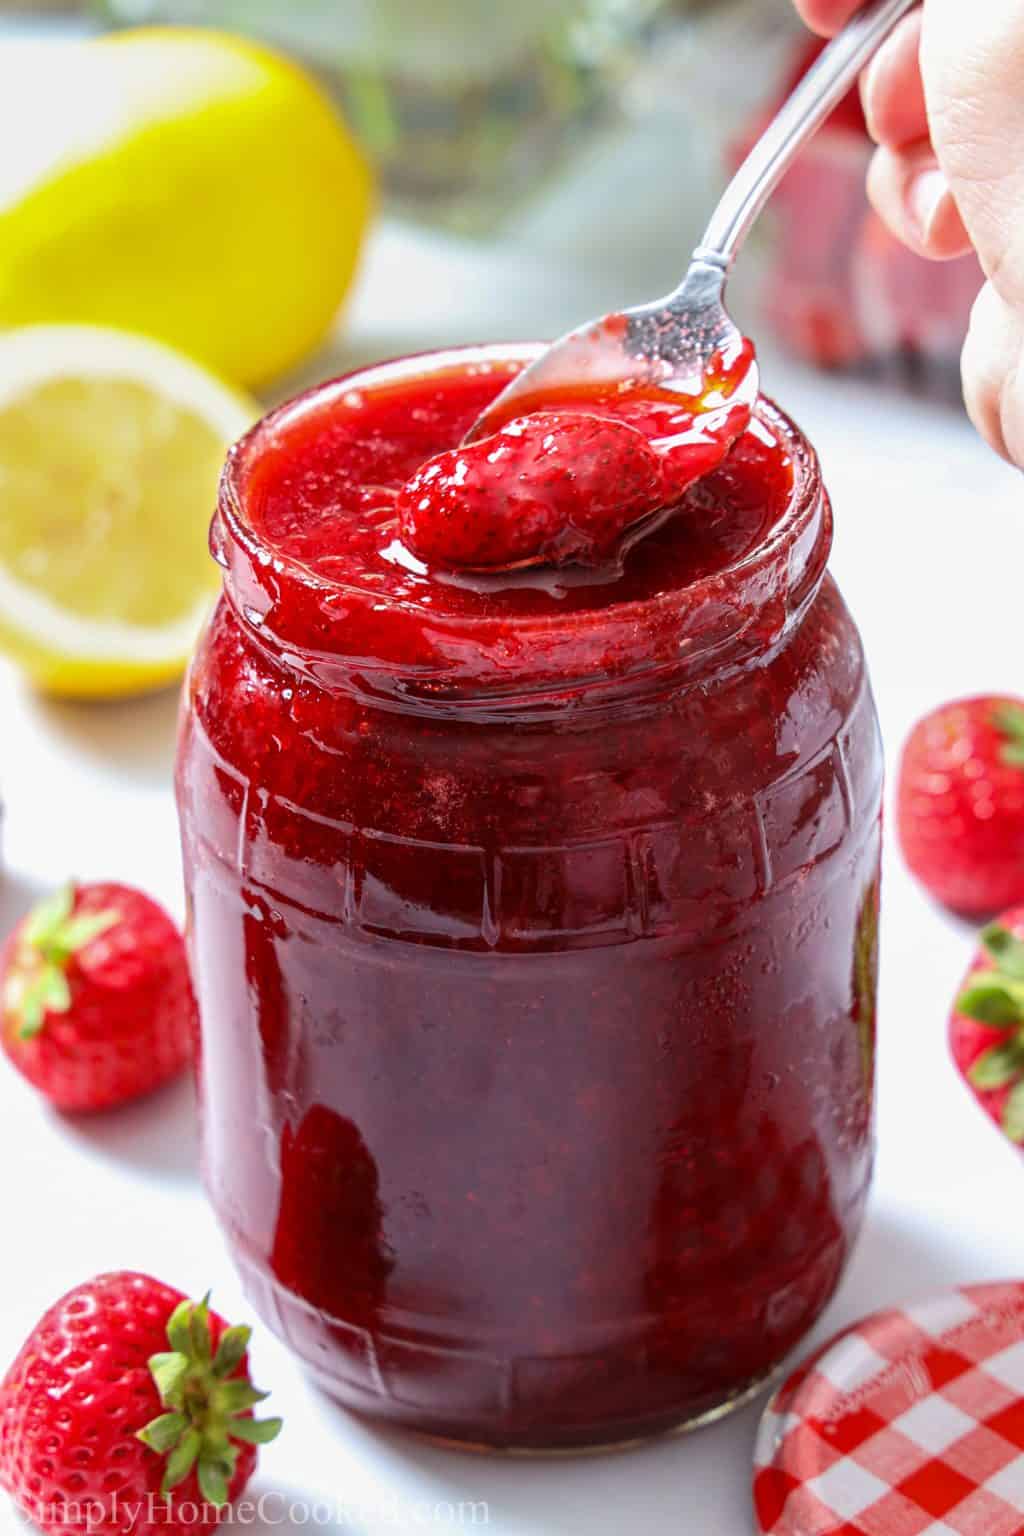
Strawberry Jam
- Ingredients: 4 cups crushed strawberries, 7 cups sugar, 1 pouch liquid pectin
- Instructions: Combine strawberries and sugar in a large pot. Bring to a full rolling boil, stirring constantly. Add pectin and boil for 1 minute. Ladle into jars and process for 10 minutes.
Blueberry Jam
- Ingredients: 5 cups crushed blueberries, 7 cups sugar, 1 pouch liquid pectin
- Instructions: Combine blueberries and sugar in a large pot. Bring to a full rolling boil, stirring constantly. Add pectin and boil for 1 minute. Ladle into jars and process for 10 minutes.
Peach Jam
- Ingredients: 4 cups peeled and chopped peaches, 7 cups sugar, 1 pouch liquid pectin
- Instructions: Combine peaches and sugar in a large pot. Bring to a full rolling boil, stirring constantly. Add pectin and boil for 1 minute. Ladle into jars and process for 10 minutes.
Conclusion
Making easy homemade jam for canning is a delightful and rewarding experience. With fresh fruit, a few simple ingredients, and some basic canning tips, you can create delicious, preservative-free jams that will impress your family and friends. So, why not give it a try? Your taste buds—and your loved ones—will thank you.
FAQs
How long does homemade jam last? Homemade jam can last up to a year if properly canned and stored in a cool, dark place. Once opened, it should be refrigerated and consumed within a few weeks.
Can I use frozen fruit for jam? Yes, you can use frozen fruit for jam. Just make sure to thaw it completely before using it in your recipe.
What if my jam doesn't set? If your jam doesn't set, it may be due to insufficient pectin or not boiling it long enough. You can try re-boiling it with additional pectin or use it as a syrup for pancakes or ice cream.
Do I need to sterilize my jars? Yes, it's important to sterilize your jars to prevent contamination and ensure the jam is safe for long-term storage.
Can I make jam without pectin? Yes, you can make jam without pectin, but it may not set as firmly. Some fruits naturally contain enough pectin to set on their own, while others may require longer cooking times or additional sugar to achieve the desired consistency.

0 Response to "How to Make Easy Homemade Jam for Canning: A Comprehensive Guide"
Post a Comment